Looking for Best NodeJs Courses, this 3 courses will teach you to combine the ultra-popular NodeJs ,React, Redux, Express, and MongoDB technologies to build a fullstack web application.
1. Node with React: Fullstack Web Development
What you’ll learn
Here’s what we’ll learn:
- Learn the architectural considerations of building a full stack app
- Connect a front-end Create-React-App server to a NodeJS and Express backend
- Communicate data from your Mongo database to your React application
- Understand how to route user requests on the front end with React Router and on the backend with Express
- Build reusable user inputs with Redux Form, complete with navigation
- Handle credit cards and receive payments from your users with Stripe
- Engage your users with automated emails
- Enhance authentication flows in your app with Google OAuth authentication
- Separate production and development resources with advanced API key handling techniques
- Educate your users on how to use your app with custom build landing pages
- Create boilerplate starter projects with React, Redux, Express, and Mongo
- Understand common web technologies and design patterns to connect them together
- Master deployment techniques between the production and development environments
- Make an app with Google OAuth authentication
- Learn to effectively create and send emails from a backend server
- Accept and process credit card payments from users
During eight chapters you’ll learn:
1. Node.js 2. Npm 3. Asynchronous programming 4. ES6/ES7 5. MongoDB 6.Express 7. Socket.IO 8. JWT Authentication 9. Mongoose 10. File and image uploads 11. Email sending 12. Application deployment with Heroku 13. Version control with Git 14. GitHub 15. REST API Design 16. Code testing 17. Debugging 18. Jest 19. Many more tools
Course Details
– Course Overview – Start Here!
– Server Side Architecture
- Application Architecture
- Relationship Between Node and Express
- Generating Express Apps
- Express Route Handlers
- Heroku Deployment Checklist
- Installing the Heroku CLI
- Verifying Heroku Deployment
- Followup Deployments
– Authentication with Google OAuth 14 lectures
– Adding MongoDB 19 lectures
– Dev vs Prod Environments 7 lectures
– Moving to the Client Side 8 lectures
– Developing the Client Side 30 lectures
– Handling Payments 21 lectures
– Back End to Front End Routing in Production 6 lectures
– Mongoose for Survey Creation 26 lectures
– Back to the Client! 30 lectures
– Handling Webhook Data 22 lectures
– The Home Stretch! 8 lectures
– Extras 1 lecture
2. The Complete Node.js Developer Course (3rd Edition)
What you’ll learn
- Completely refilmed for 3rd edition
- Build, test, and launch Node apps
- Create Express web servers and APIs
- Store data with Mongoose and MongoDB
- Use cutting-edge ES6/ES7 JavaScript
- Deploy your Node apps to production
- Create real-time web apps with SocketIO
3. Learn and Understand NodeJS
What you’ll learn
- Grasp how NodeJS works under the hood
- Understand the Javascript and technical concepts behind NodeJS
- Structure a Node application in modules
- Understand and use the Event Emitter
- Understand Buffers, Streams, and Pipes
- Build a Web Server in Node and understand how it really works
- Use npm and manage node packages
- Build a web application and API more easily using Express
- Connect to a SQL or Mongo database in Node
- Understand how the MEAN stack works
- Be the coder that explains NodeJS to everyone else because you understand it better than anyone else
Who this course is for:
- Those looking to build a career as a NodeJS developer
- Those desiring to become MEAN stack developers
- Those who don’t have server technology experience but wish to gain this skill
- Those coming from other server technologies (like PHP, ASP.NET, or Ruby on Rails) and want to learn Node
- Those who want to only have to write both client and server code in one language: Javascript
- Those who want to grasp Express
{ Node.js Application + Docker } Development On DigitalOcean
This tutorial will walk you through creating an application image for a static website that uses the Express framework and Bootstrap. You will then build a container using that image, push it to Docker Hub, and use it to build another container, demonstrating how you can recreate and scale your application.
For a more detailed version of this tutorial, with more detailed explanations of each step, please refer to How To Build a Node.js Application with Docker.
Prerequisites
To follow this tutorial, you will need:
- A
sudouser on your server or in your local environment. - Docker.
- Node.js and
npm. - A Docker Hub account.
Step 1 — Installing Your Application Dependencies
First, create a directory for your project in your non-root user’s home directory:
mkdir node_project
Navigate to this directory:
This will be the root directory of the project.
Next, create a package.json with your project’s dependencies:
nano package.json
Add the following information about the project to the file; be sure to replace the author information with your own name and contact details:
~/node_project/package.json
{
"name": "nodejs-image-demo",
"version": "1.0.0",
"description": "nodejs image demo",
"author": "Sammy the Shark <[email protected]>",
"license": "MIT",
"main": "app.js",
"scripts": {
"start": "node app.js",
"test": "echo \"Error: no test specified\" && exit 1"
},
"keywords": [
"nodejs",
"bootstrap",
"express"
],
"dependencies": {
"express": "^4.16.4"
}
}
Install your project’s dependencies:
npm install
Step 2 — Creating the Application Files
We will create a website that offers users information about sharks.
Open app.js in the main project directory to define the project’s routes:
- nano app.js
Add the following content to the file to create the Express application and Router objects, define the base directory, port, and host as variables, set the routes, and mount the router middleware along with the application’s static assets:
var express = require("express");
var app = express();
var router = express.Router();

var path = __dirname + '/views/';

// Constants
const PORT = 8080;
const HOST = '0.0.0.0';

router.use(function (req,res,next) {
  console.log("/" + req.method);
  next();
});

router.get("/",function(req,res){
  res.sendFile(path + "index.html");
});

router.get("/sharks",function(req,res){
  res.sendFile(path + "sharks.html");
});

app.use(express.static(path));
app.use("/", router);

app.listen(8080, function () {
  console.log('Example app listening on port 8080!')
})
Next, let’s add some static content to the application. Create the views directory:
- mkdir views
Open index.html:
- nano views/index.html
Add the following code to the file, which will import Boostrap and create a jumbotron component with a link to the more detailed sharks.html info page:
<!DOCTYPE html>
<html lang="en">
<head>
<title>About Sharks</title>
<meta charset="utf-8">
<meta name="viewport" content="width=device-width, initial-scale=1">
<link rel="stylesheet" href="https://maxcdn.bootstrapcdn.com/bootstrap/3.3.7/css/bootstrap.min.css">
<link href="css/styles.css" rel="stylesheet">
<link href='https://fonts.googleapis.com/css?family=Merriweather:400,700' rel='stylesheet' type='text/css'>
<script src="https://ajax.googleapis.com/ajax/libs/jquery/3.3.1/jquery.min.js"></script>
<script src="https://maxcdn.bootstrapcdn.com/bootstrap/3.3.7/js/bootstrap.min.js"></script>
</head>
<body>
<nav class="navbar navbar-inverse navbar-static-top">
<div class="container">
<div class="navbar-header">
<button type="button" class="navbar-toggle collapsed" data-toggle="collapse" data-target="#bs-example-navbar-collapse-1" aria-expanded="false">
<span class="sr-only">Toggle navigation</span>
<span class="icon-bar"></span>
<span class="icon-bar"></span>
<span class="icon-bar"></span>
</button>
<a class="navbar-brand" href="#">Everything Sharks</a>
</div>
<div class="collapse navbar-collapse" id="bs-example-navbar-collapse-1">
<ul class="nav navbar-nav mr-auto">
<li class="active"><a href="/">Home</a></li>
<li><a href="/sharks">Sharks</a></li>
</ul>
</div>
</div>
</nav>
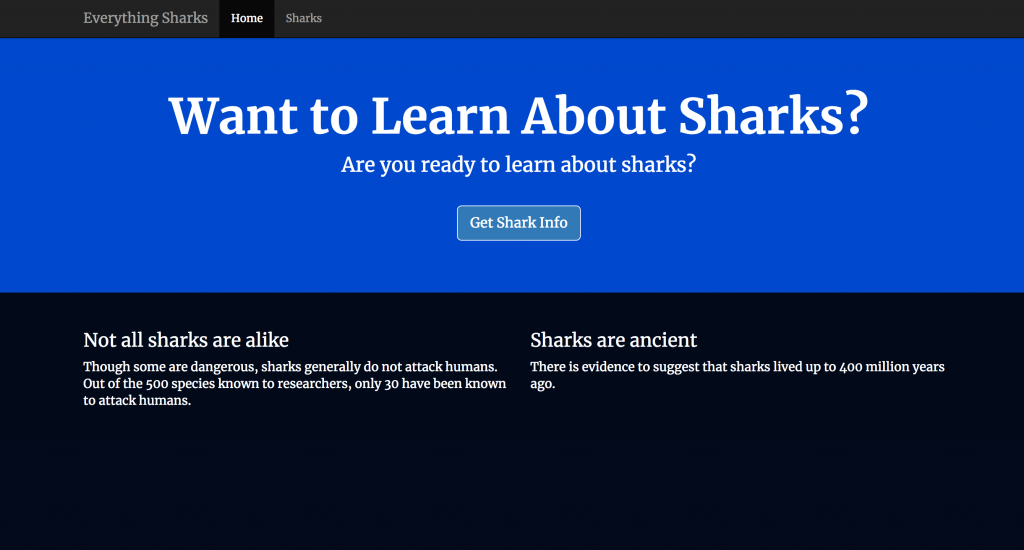
<div class="jumbotron">
<div class="container">
<h1>Want to Learn About Sharks?</h1>
<p>Are you ready to learn about sharks?</p>
<br>
<p><a class="btn btn-primary btn-lg" href="/sharks" role="button">Get Shark Info</a></p>
</div>
</div>
<div class="container">
<div class="row">
<div class="col-md-6">
<h3>Not all sharks are alike</h3>
<p>Though some are dangerous, sharks generally do not attack humans. Out of the 500 species known to researchers, only 30 have been known to attack humans.</p>
</div>
<div class="col-md-6">
<h3>Sharks are ancient</h3>
<p>There is evidence to suggest that sharks lived up to 400 million years ago.</p>
</div>
</div>
</div>
</body>
</html>
Next, open a file called sharks.html:
- nano views/sharks.html
Add the following code, which imports Bootstrap and the custom style sheet and offers users detailed information about certain sharks:
<!DOCTYPE html>
<html lang="en">
<head>
<title>About Sharks</title>
<meta charset="utf-8">
<meta name="viewport" content="width=device-width, initial-scale=1">
<link rel="stylesheet" href="https://maxcdn.bootstrapcdn.com/bootstrap/3.3.7/css/bootstrap.min.css">
<link href="css/styles.css" rel="stylesheet">
<link href='https://fonts.googleapis.com/css?family=Merriweather:400,700' rel='stylesheet' type='text/css'>
<script src="https://ajax.googleapis.com/ajax/libs/jquery/3.3.1/jquery.min.js"></script>
<script src="https://maxcdn.bootstrapcdn.com/bootstrap/3.3.7/js/bootstrap.min.js"></script>
</head>
<nav class="navbar navbar-inverse navbar-static-top">
<div class="container">
<div class="navbar-header">
<button type="button" class="navbar-toggle collapsed" data-toggle="collapse" data-target="#bs-example-navbar-collapse-1" aria-expanded="false">
<span class="sr-only">Toggle navigation</span>
<span class="icon-bar"></span>
<span class="icon-bar"></span>
<span class="icon-bar"></span>
</button>
<a class="navbar-brand" href="#">Everything Sharks</a>
</div>
<div class="collapse navbar-collapse" id="bs-example-navbar-collapse-1">
<ul class="nav navbar-nav mr-auto">
<li><a href="/">Home</a></li>
<li class="active"><a href="/sharks">Sharks</a></li>
</ul>
</div>
</div>
</nav>
<div class="jumbotron text-center">
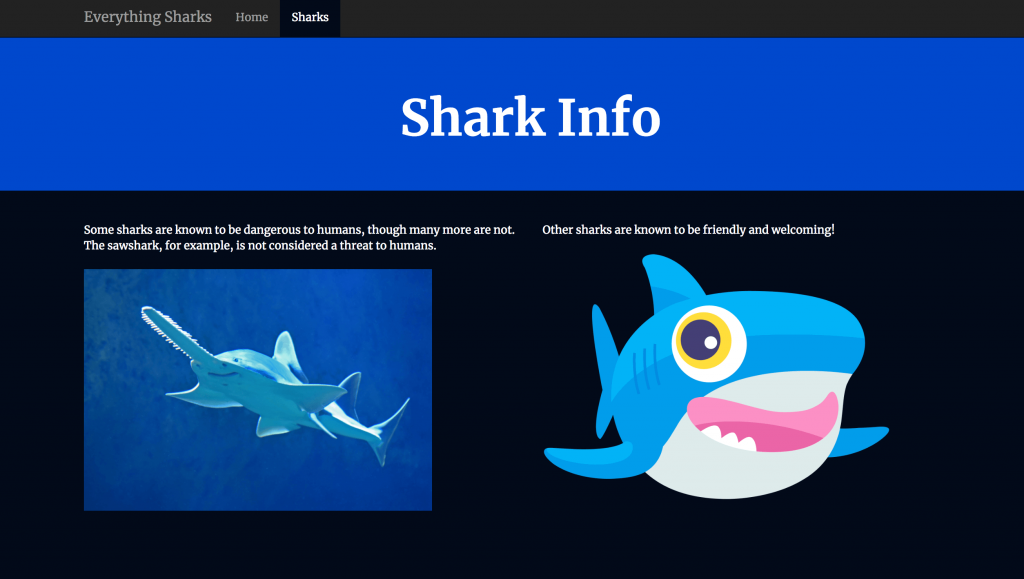
<h1>Shark Info</h1>
</div>
<div class="container">
<div class="row">
<div class="col-md-6">
<p>
<div class="caption">Some sharks are known to be dangerous to humans, though many more are not. The sawshark, for example, is not considered a threat to humans.</div>
<img src="https://assets.digitalocean.com/articles/docker_node_image/sawshark.jpg" alt="Sawshark">
</p>
</div>
<div class="col-md-6">
<p>
<div class="caption">Other sharks are known to be friendly and welcoming!</div>
<img src="https://assets.digitalocean.com/articles/docker_node_image/sammy.png" alt="Sammy the Shark">
</p>
</div>
</div>
</div>
</body>
</html>
Finally, create the custom CSS style sheet that you’ve linked to in index.html and sharks.html by first creating a css folder in the views directory:
- mkdir views/css
Open the style sheet and add the following code, which will set the desired color and font for our pages:
.navbar {
        margin-bottom: 0;
}

body {
        background: #020A1B;
        color: #ffffff;
        font-family: 'Merriweather', sans-serif;
}
h1,
h2 {
        font-weight: bold;
}
p {
        font-size: 16px;
        color: #ffffff;
}


.jumbotron {
        background: #0048CD;
        color: white;
        text-align: center;
}
.jumbotron p {
        color: white;
        font-size: 26px;
}

.btn-primary {
        color: #fff;
        text-color: #000000;
        border-color: white;
        margin-bottom: 5px;
}

img, video, audio {
        margin-top: 20px;
        max-width: 80%;
}

div.caption: {
        float: left;
        clear: both;
}
Start the application:
- npm start
Navigate your browser to http://your_server_ip:8080 or localhost:8080 if you are working locally. You will see the following landing page:
Click on the Get Shark Info button. You will see the following information page:
You now have an application up and running. When you are ready, quit the server by typing CTRL+C
Step 3 — Writing the Dockerfile
In your project’s root directory, create the Dockerfile:
- nano Dockerfile
Add the following code to the file:
FROM node:10

RUN mkdir -p /home/node/app/node_modules && chown -R node:node /home/node/app

WORKDIR /home/node/app

COPY package*.json ./

RUN npm install

COPY . .

COPY --chown=node:node . .

USER node

EXPOSE 8080

CMD [ "npm", "start" ]
This Dockerfile uses an alpine base image and ensures that application files are owned by the non-root node user that is provided by default by the Docker Node image.
Next, add your local node modules, npm logs, Dockerfile, and .dockerignore to your .dockerignore file:
node_modules
npm-debug.log
Dockerfile
.dockerignore
Build the application image using the docker build command:
- docker build -t your_dockerhub_username/nodejs-image-demo .
The . specifies that the build context is the current directory.
Check your images:
- docker images
You will see the following output:
REPOSITORY                                         TAG                 IMAGE ID            CREATED             SIZE
your_dockerhub_username/nodejs-image-demo          latest              1c723fb2ef12        8 seconds ago       895MB
node                                               10                  f09e7c96b6de        17 hours ago        893MB
Run the following command to build a container using this image:
- docker run –name nodejs-image-demo -p 80:8080 -d your_dockerhub_username/nodejs-image-demo
Inspect the list of your running containers with docker ps:
- docker ps
You will see the following output:
CONTAINER ID        IMAGE                                                   COMMAND             CREATED             STATUS              PORTS                  NAMES
e50ad27074a7        your_dockerhub_username/nodejs-image-demo               "npm start"         8 seconds ago       Up 7 seconds        0.0.0.0:80->8080/tcp   nodejs-image-demo
With your container running, you can now visit your application by navigating your browser to http://your_server_ip or localhost. You will see your application landing page once again:

Now that you have created an image for your application, you can push it to Docker Hub for future use.
Step 4 — Using a Repository to Work with Images
The first step to pushing the image is to log in to the your Docker Hub account:
- docker login -u your_dockerhub_username -p your_dockerhub_password
Logging in this way will create a ~/.docker/config.json file in your user’s home directory with your Docker Hub credentials.
Push your image up using your own username in place of your_dockerhub_username:
- docker push your_dockerhub_username/nodejs-image-demo
If you would like, you can test the utility of the image registry by destroying your current application container and image and rebuilding them.
First, list your running containers:
- docker ps
You will see the following output:
CONTAINER ID        IMAGE                                       COMMAND             CREATED             STATUS              PORTS                  NAMES
e50ad27074a7        your_dockerhub_username/nodejs-image-demo   "npm start"         3 minutes ago       Up 3 minutes        0.0.0.0:80->8080/tcp   nodejs-image-demo
Using the CONTAINER ID listed in your output, stop the running application container. Be sure to replace the highlighted ID below with your own CONTAINER ID:
- docker stop e50ad27074a7
List your all of your images with the -a flag:
- docker images -a
You will see the following output with the name of your image, your_dockerhub_username/nodejs-image-demo, along with the node image and the other images from your build:
REPOSITORY                                           TAG                 IMAGE ID            CREATED             SIZE
your_dockerhub_username/nodejs-image-demo            latest              1c723fb2ef12        7 minutes ago       895MB
<none>                                               <none>              e039d1b9a6a0        7 minutes ago       895MB
<none>                                               <none>              dfa98908c5d1        7 minutes ago       895MB
<none>                                               <none>              b9a714435a86        7 minutes ago       895MB
<none>                                               <none>              51de3ed7e944        7 minutes ago       895MB
<none>                                               <none>              5228d6c3b480        7 minutes ago       895MB
<none>                                               <none>              833b622e5492        8 minutes ago       893MB
<none>                                               <none>              5c47cc4725f1        8 minutes ago       893MB
<none>                                               <none>              5386324d89fb        8 minutes ago       893MB
<none>                                               <none>              631661025e2d        8 minutes ago       893MB
node                                                 10                  f09e7c96b6de        17 hours ago        893MB
Remove the stopped container and all of the images, including unused or dangling images, with the following command:
- docker system prune -a
With all of your images and containers deleted, you can now pull the application image from Docker Hub:
- docker pull your_dockerhub_username/nodejs-image-demo
List your images once again:
- docker images
You will see your application image:
REPOSITORY                                     TAG                 IMAGE ID            CREATED             SIZE
your_dockerhub_username/nodejs-image-demo      latest              1c723fb2ef12        11 minutes ago      895MB
You can now rebuild your container using the command from Step 3:
-
- docker run –name
nodejs-image-demo
-
- -p
80
-
- :8080 -d
your_dockerhub_username
-
- /
nodejs-image-demo
$ docker psList your running containers:
Output
CONTAINER ID        IMAGE                                                   COMMAND             CREATED             STATUS              PORTS                  NAMES
f6bc2f50dff6        your_dockerhub_username/nodejs-image-demo               "npm start"         4 seconds ago       Up 3 seconds        0.0.0.0:80->8080/tcp   nodejs-image-demo
Visit http://your_server_ip or localhost once again to view your running application.