In this module, we prepared our development environment for creating apps in Azure. we installed the appropriate IDE for your operating system and development requirements, and we added Azure integration to streamline the publishing of content directly to Azure services.
Here you’ll install Eclipse and the Azure Toolkit on your development machine. By the end of the exercise, you’ll have everything you need to create a Java application connected to Azure.
Install Eclipse IDE
- Download the appropriate Eclipse IDE for your operating system.
- Start the Eclipse installer once downloaded.
- On Windows, double-click the downloaded file.
- On macOS and Linux, unzip the installer from the downloaded file and run it.
Note
The installer may prompt you to install the Java Development Kit, if it is missing.
- Select the packages to install. For Java developers, choose either the Java or Java EE Eclipse IDE option.
- Select the installation destination on your machine.
- Launch Eclipse to validate that it installed correctly.
Install Azure Toolkit for Eclipse
Installing the Azure Toolkit is the same across Windows, macOS, and Linux.
- Start Eclipse and open a workspace.
- Drag the following button to your running Eclipse workspace to install the Azure Toolkit for Eclipse plugin.
- The feature confirm dialog will open. Currently we have no optional feature, click Confirm to continue.
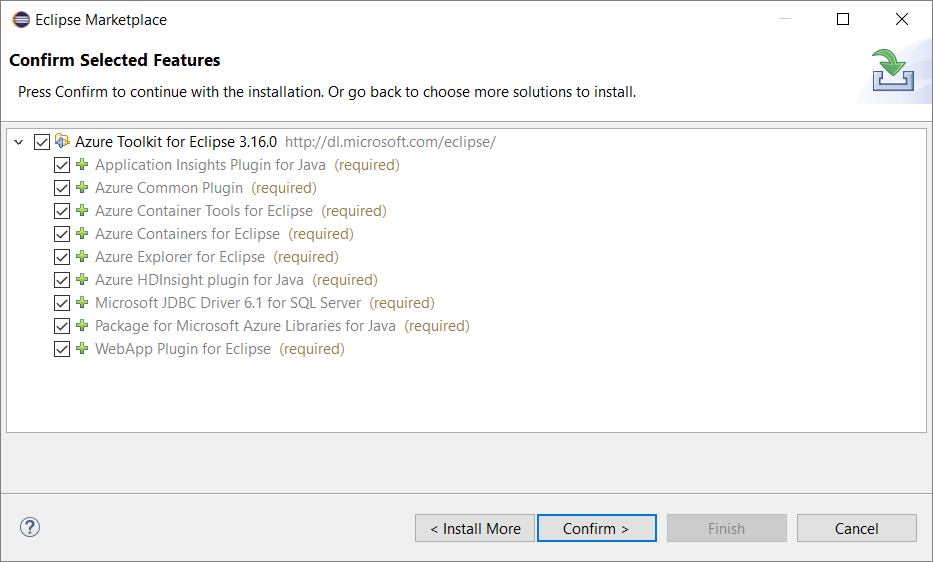
- Review and accept the license agreements, and click Finish.
- Eclipse will download and install the Azure Toolkit.
- Restart Eclipse if necessary.
- Validate the Azure Toolkit installation by verifying that you can find a Tools > Azure menu option in Eclipse.
Here you’ll install IntelliJ IDEA and the Azure Toolkit on your development machine. By the end of the exercise, you’ll have everything you need to create a Java application connected to Azure.
Install IntelliJ IDEA
- Download the appropriate IntelliJ IDEA for your operating system.
- Start the IntelliJ IDEA installer once downloaded.
- On Windows, double-click the downloaded file.
- On macOS and Linux, unzip the installer from the downloaded file and run it.
Note
The installer may prompt you to install the Java Development Kit, if it is missing.
- Select the installation destination on your machine and confirm other settings.
- Launch IntelliJ IDEA to validate that it installed correctly.
Install Azure Toolkit for IntelliJ
Installing the Azure Toolkit is the same across Windows, macOS, and Linux.
- Start IntelliJ IDEA and open a workspace.
- Go to Configure > Settings.
- The Settings dialog will open. Select Plugins on the left, search
Azure Toolkit for IntelliJin plugin marketplace.The following screenshot shows the Plugins dialog as described above.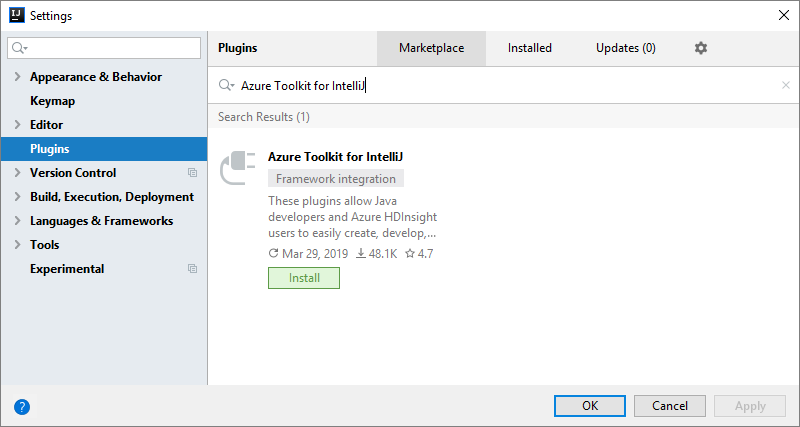
- Click OK, and Install.
- Review and accept the license agreements if prompted.
- IntelliJ IDEA will download and install the Azure Toolkit.
- Restart IntelliJ IDEA after the installation.
- Validate the Azure Toolkit installation by verifying that you can see a Tools > Azure menu option in IntelliJ IDEA.